Creating a New Event
1. Navigate to a room’s climate control page. You will see a button labeled Events Calendar. Select this button to access the room’s event scheduler.
2. As seen in the example below, there are three sections to the event scheduler page: Week Of, the Days of the Week, and + New Event.
3. To add a new Event, select the + New Event button.
4. Add a unique name for this event next to the Event Name section. In our example we named it Back to School Night.
5. Set a start time for the event. This will be the time the thermostat switches to following the event’s climate settings. In our example the event starts at 4:00 PM. To change the start time, select the Start Time button and move the sliders until they read 6400 PM. Then select Done.
6. Next set an end time for the event. This is the time the thermostat switches back to its normal schedule. In our example the event ends at 11:00 PM. To change the end time, select the End Time button and move the sliders until they read 11:00 PM. Then select Done.
8. Because our event repeats, we have both a Event Date and End Date. The Event Date should be set to the first day the event occurs. The End Date should be set to the last day the event occurs. If there is no End Date, then the event will occur on the day selected indefinitely.
7. The event can either be set to run one time or it can be set to run on a daily, weekly, monthly, or on a yearly basis. To set the Repeat, select the arrow and a pop-up will appear. In our example, the event occurs each month on the same day, so we set the Repeat to Monthly.
Select
9. Select Event Date to set either the day of or the first day of the event. On the calendar pop-up, the Red number indicates today’s date, Gray indicates past days, and numbers with circles around them represent days which can be selected. The single arrow icons allows you to change the calendar Month being displayed and the double arrows icons allow you to change the Year being displayed. In our example, we selected September 18th, 2021 as our start date.
10. If your event is set to have No Repeat, then there will be No End Date since your event only occurs once. In all other cases, you can either select an End Date or leave it set to None if the repeated event does not have an end day. In our example, we selected September 18th, 2025 as our end date.
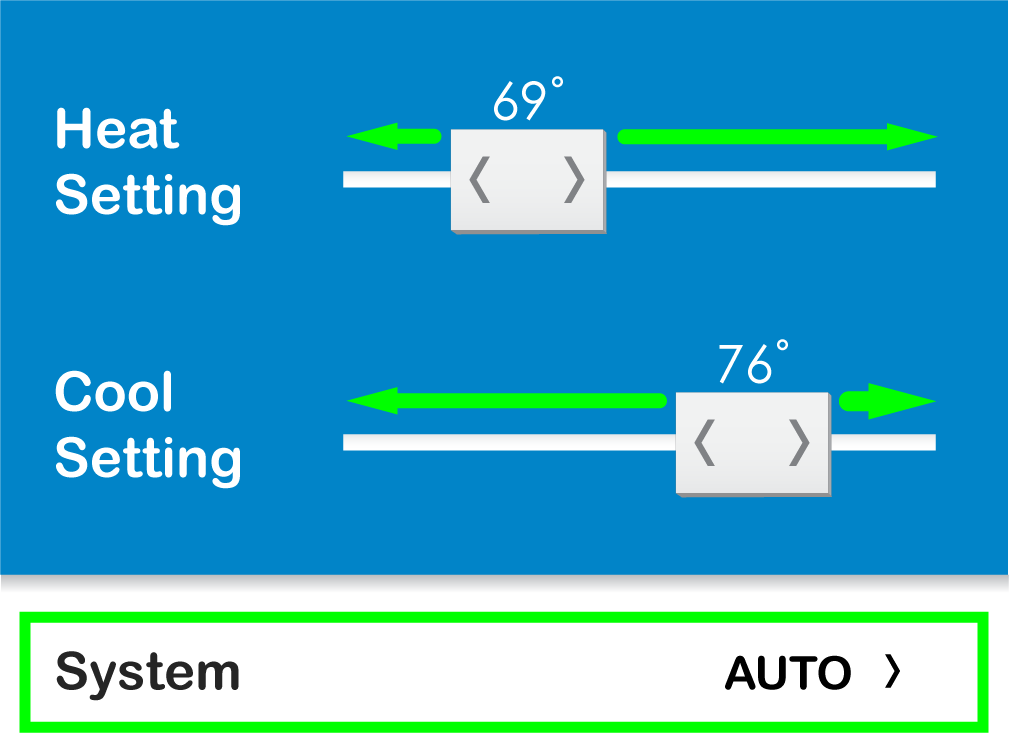
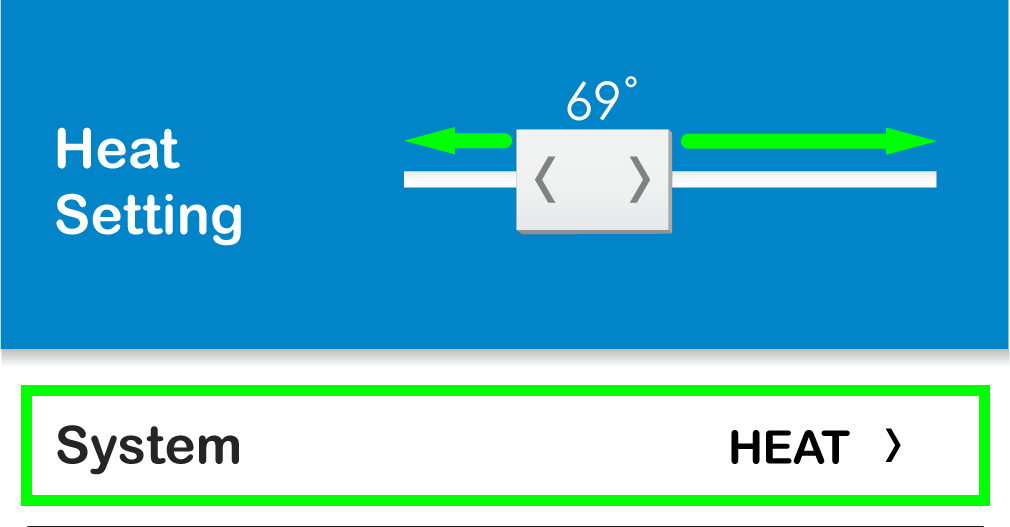
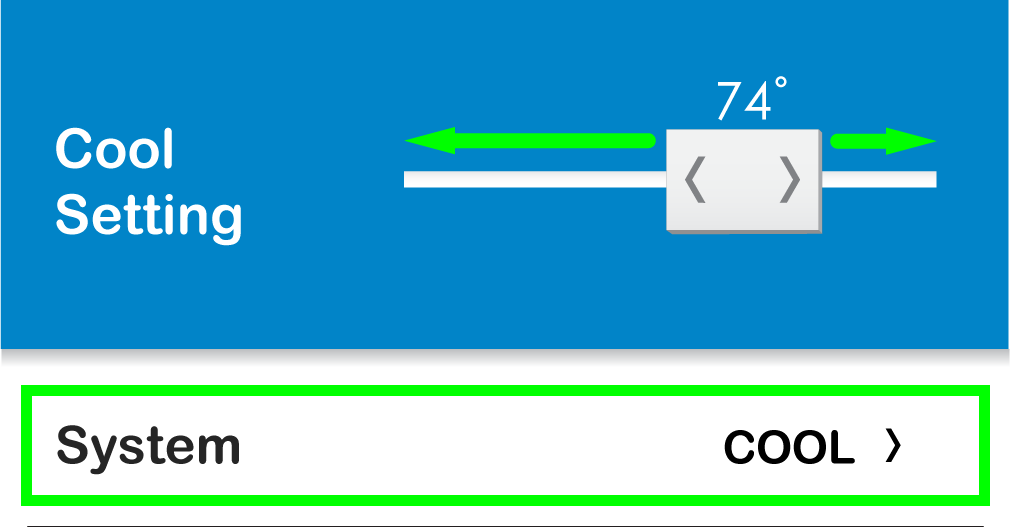
11. Now that we have the event dates and times set, we can configure what we want the thermostat to change to during this event. The first item to select to the System mode. In our case, we are going to set this to Auto so we can have both a heat and cool set-point for the thermostat.

12. By moving the sliders next to Heat Setting and Cool Setting we are setting the thermostats temperature set-points for this event. In our example, we set the Cool Setting to 73°F and the Heat Setting to 68°F.
13. Because the space is going to be occupied during this event, we set our Fan to ON so it is running and ventilation the space during the event. Leaving it in AUTO mode means the Fan will only run during a heating or cooling cycle.
14. Finally, we don’t want people to change the thermostat’s temperatures or modes during the event, so we are setting the thermostat’s Front Keypad to LOCKED. If left UNLOCKED then the thermostat’s front keypads stay active.
15. Now that we have the entire event set to our desired setting, we select the Done button. On the Week Of calendar you will see a new event on the day(s) you just scheduled this event for, which will be color correlated with the event below the calendar. If you need to edit or delete an event, follow the instructions below. If you need to add another event, select + New Event and follow these same instructions for your next event.
Editing an Event
1. Navigate to a room’s climate control page. Select the button labeled Events Calendar.
2. Below the calendar on the Event Scheduler dashboard you will see a list of all the events that occur on that week. If you are looking to edit an event for a different week, select the left or right arrow above the calendar to change the week being displayed.
3. Once you find the event you want to edit, select that event and make all desired adjustments. Then press the Back button in the upper left hand corner and the changes you made will automatically be pushed to the thermostat.
Deleting an Event
1. Navigate to a room’s climate control page. Select the button labeled Events Calendar.
2. Below the calendar on the Event Scheduler dashboard you will see a list of all the events that occur on that week. If you are looking to delete an event for a different week, select the left or right arrow above the calendar to change the week being displayed.
3. Once you find the event you want to delete, select that event and press the Delete button with the trash can icon in the bottom left hand corner of the event box.
4. A pop-up will appear asking you to confirm you want to delete the event. Select Ok to delete the event.
5. The app will bring you back to the Event Scheduler dashboard and you will see the event deleted is no longer shown on or under the calendar.


